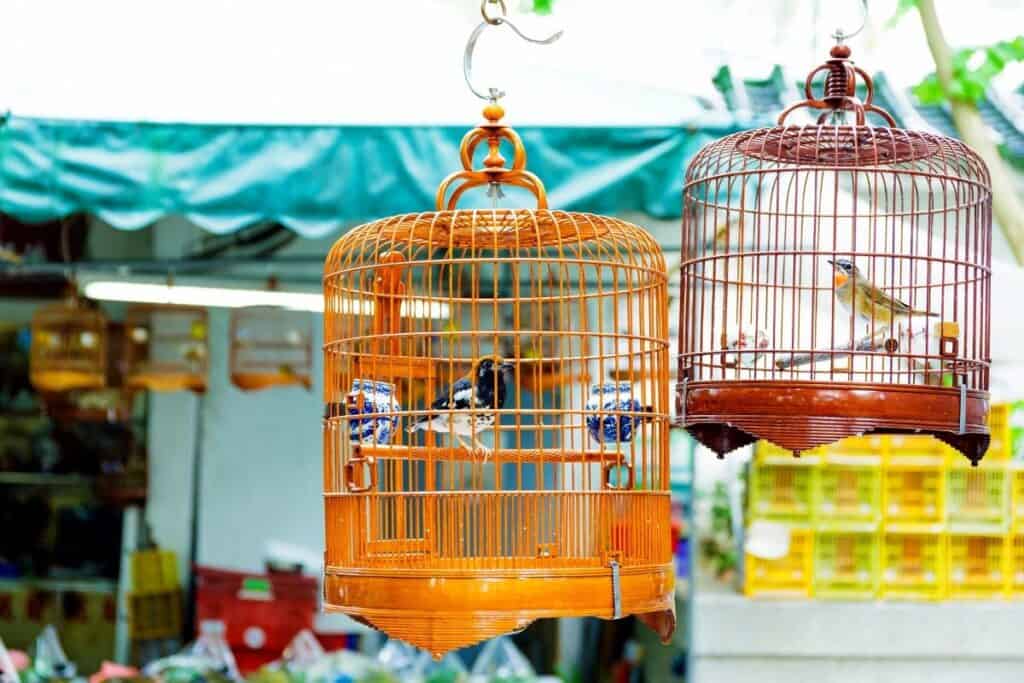
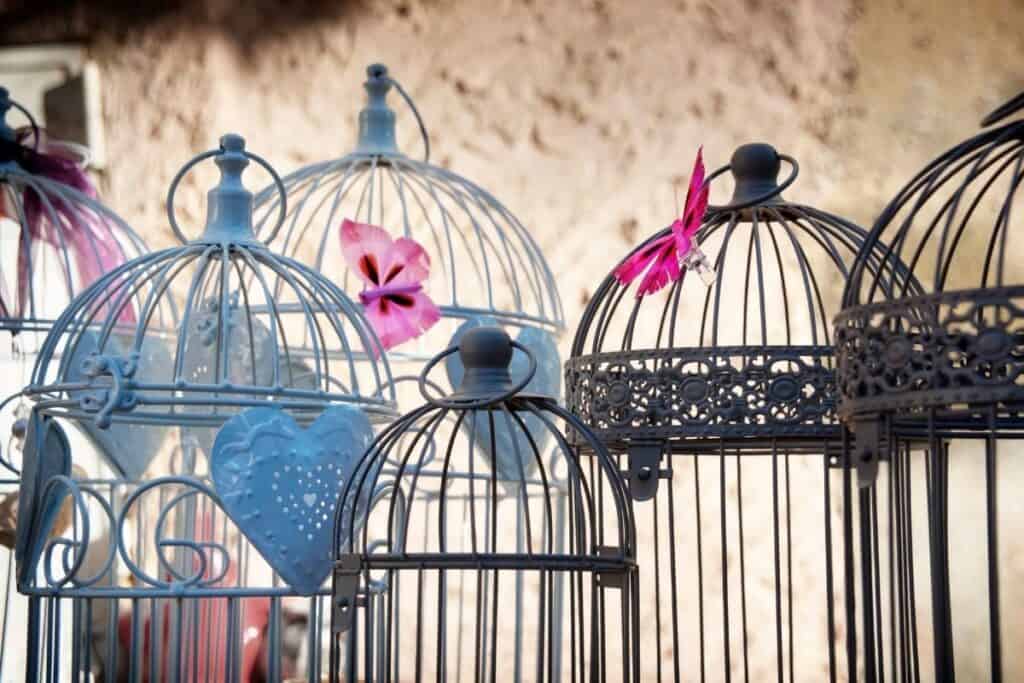
Safe Paint for Bird Cages: 7 CRUCIAL Facts (Read First!)
We’re reader-supported; we may earn a commission from links in this article.
Painting your old and rusty bird cage can be really fun and brighten up the mood!
But what exactly are the safe paints that you can use for painting your bird cage?
To help you out, I did a LOT of research on this and came up with a definite answer.
Here are the safe paints you can use for painting bird cages:
Water-based paints that do not contain lead, zinc, chromate, or VOCs are safe for painting bird cages. Paint used should also bond well to metal and dry fast. Non-toxic spray paint can be used for painting but must be allowed to dry for about 1 week after three coats of paint.
But simply knowing what type of paint to use is not enough because there are many important pointers you need to know before you start.
There’s lots to talk about, so let’s get into it!
Read on for more:
1) Importance of Using Bird-safe Paint for Bird Cages
It’s extremely important to use non-toxic paint that is safe for birds when painting your birdcage!
Inappropriate paint may contain harmful materials like:
- Lead
- Zinc
- Chromate
- VOCs (Volatile Organic Compounds)
Here are 2 quick reasons why you need to use bird-safe paint when painting cages for birds:
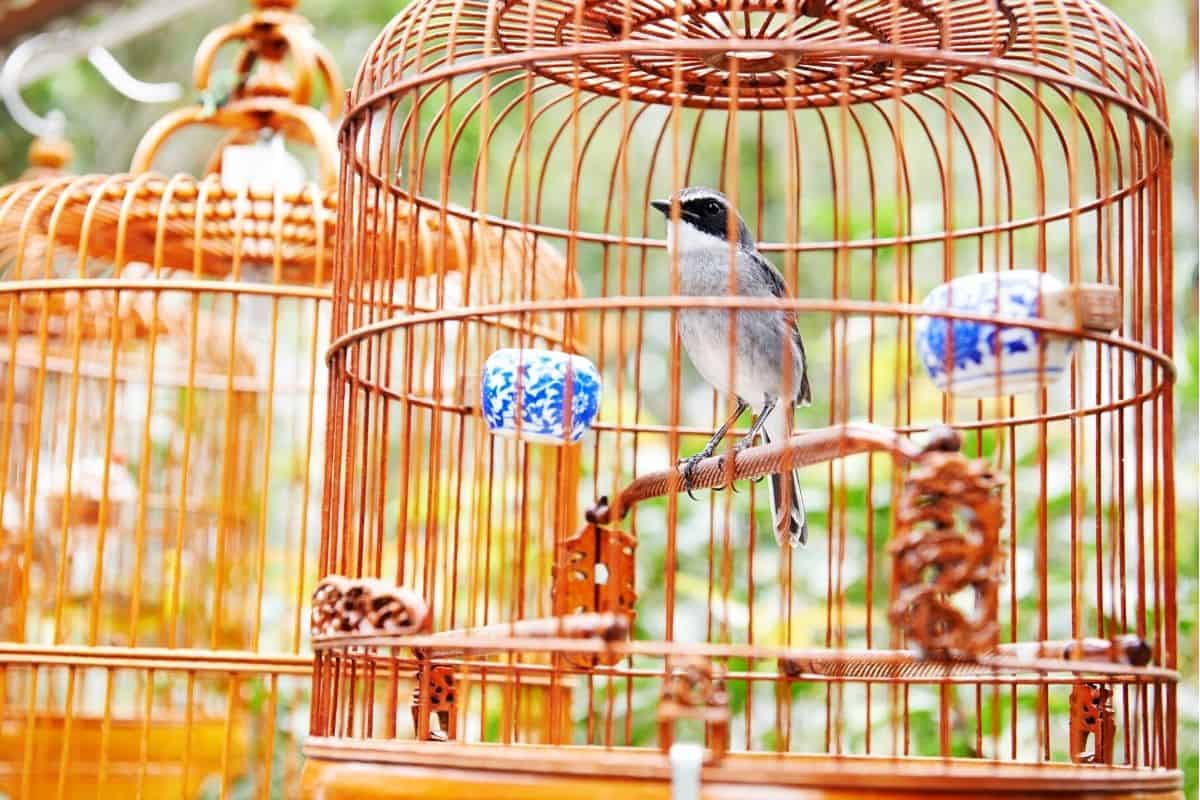
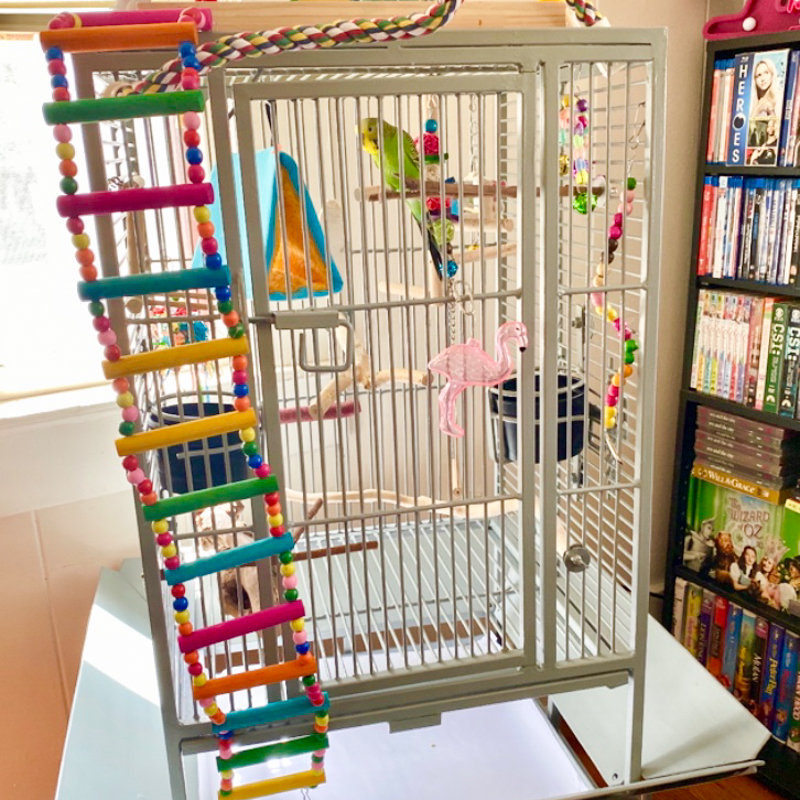
(a) Pet Birds Love To Chew, Scratch, Climb All Over The Cage
If you’re an experienced pet bird owner (bird mom/dad), you would know that pet birds love to chew on stuff, scratch surfaces, throw things around, bite our mouths, and climb all over the cage!
If the wrong type of paint is used, paint can start to chip off over time and get ingested by the birds into their stomachs.
This harms birds’ health, and you don’t want it to happen.
Learn more about whether birds can burp.
(b) Inappropriate Paint Used May Not Adhere Well To Metal Cages
Using the wrong type of paint that doesn’t adhere well to the metal surfaces of your cage can lead to disaster.
If the paint doesn’t cure well and isn’t waterproof, when birds accidentally lick the surfaces of the cage, the paint may come off easily and harm the bird’s health.
Ideally, you’ll want to look for an appropriate primer, then apply a few layers of bird-safe paint. Brush-on paints are less messy, but spray-on paints are easier to use to cover all surfaces!)
If you’re looking for some examples of bird-safe paint you can use, not to worry, as I’ll touch on that later on in this post! Read on for more.
2) Should I Paint Bird Cages?
The next thought in your mind will most probably be this: “Should I even paint a bird cage?” or maybe you’re just wondering if it’s an appropriate thing that people do.
Here’s the quick answer:
Bird cages should be painted because it is a quick and easy way to remodel an old, worn-out cage. Painted cages can also provide extra protection from the metal inside from wearing out too quickly. However, only bird-safe paint should be used to paint them.
In my personal opinion, if you’re on the fence about whether you should paint your bird cage, I strongly suggest that you do so, for the sake of giving it a makeover for a fresh new look!
You are probably thinking of painting it because it looks old and gaudy anyway!
Now that you’re over the fence about painting your bird cage for the very first time, let me show you which types of paint you can use for cages:
3) Safe Paint for Bird Cages (FULL Detailed Table)

So now that you know the importance of selecting the right paint for a bird cage, which exactly are safe?
Here’s the answer:
Water-based paints that do not contain lead, zinc, chromate, or VOCs are safe for painting bird cages. Paint used for bird cages should also bond well to metal and dry fast. Non-toxic spray paint can be used for painting but must be allowed to dry for about 1 week after 3 coats of paint.
As a general rule, you can look out fo bird-safe paint that specifically mentions that it’s “non-toxic” and “does not contain any VOCs”.
Here are some really good products that I recommend that you use:
| Non-toxic Primer for Bird Cages | Non-toxic Paint for Bird Cages |
| Pet Dwellings Primer by ECOS | Gloss Pet Dwellings Paint by ECOS |
10% OFF PROMO CODE
Use code “birdingoutdoors10” at your first checkout at ECOS Paints for 10% off!
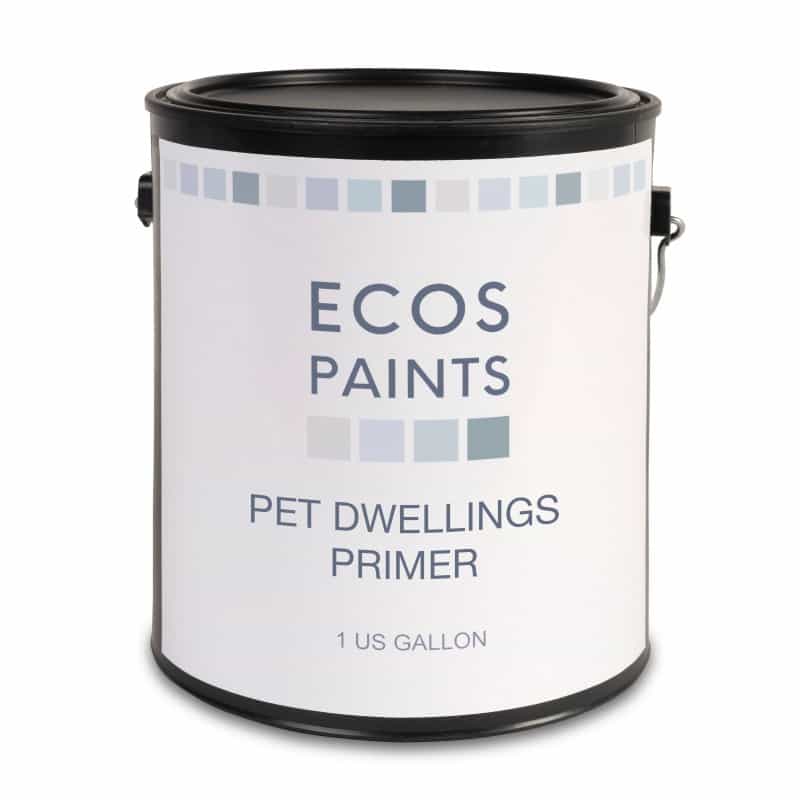
Recommended Primer: Pet Dwellings Primer by ECOS
The Pet Dwellings Primer is a primer that has a white color and is created specifically to prime for paint that will be used on pet items.
You should use a primer before you start to paint because it sets a good foundation for the actual paint to adhere on top of.
Primers help the subsequent paint coats on top of it to last longer, so don’t skip it!
Also, if you’d like the recommended non-toxic Gloss Pet Dwellings Paint mentioned below, you’ll need to start with a primer because it requires it.
Why do I recommend this primer specifically? That’s because it’s non-toxic and has a VOC-free formula that doesn’t release any harmful odors.
If you notice how some primers have a really nasty smell, then those paints are most likely latex paint or oil-based paints.
Rest assured, because this primer is water-based, it’s organic and doesn’t have a nasty smell that remains.
You can find the link to purchase the Pet Dwellings Primer by ECOS here!
10% OFF PROMO CODE
Use code “birdingoutdoors10” at your first checkout at ECOS Paints for 10% off!
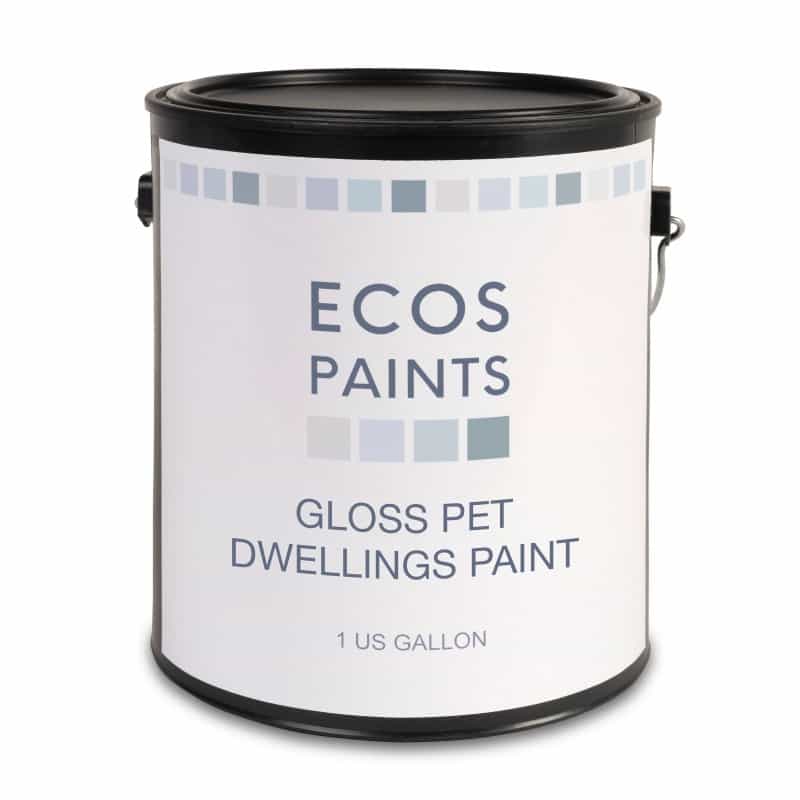
Recommended Paint: Gloss Pet Dwellings Paint by ECOS
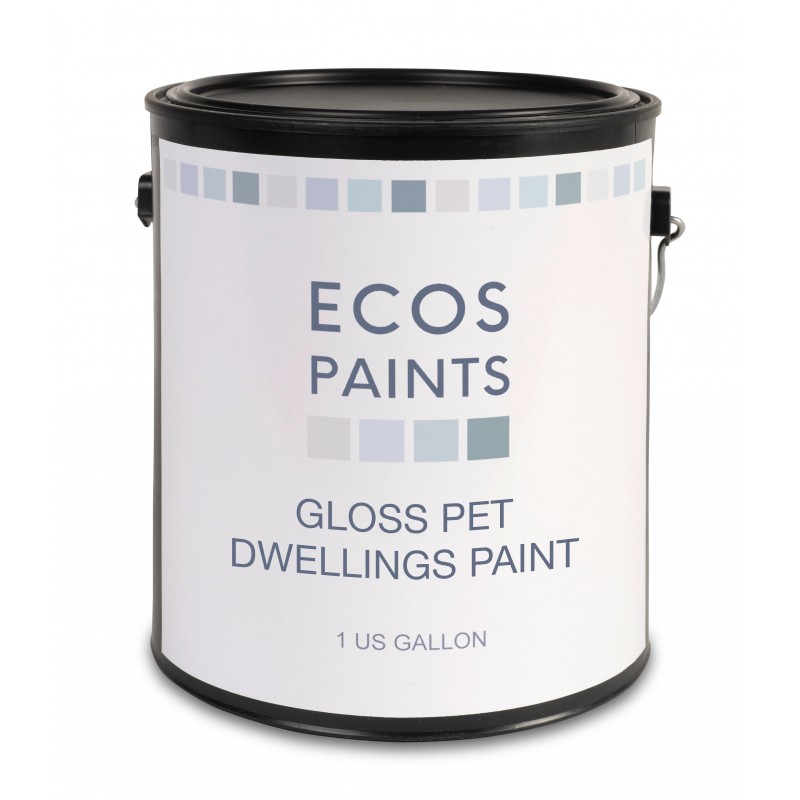
The Gloss Pet Dwellings Paint by ECOS was also designed for pets’ use.
According to ECOS, they can be used for painting other items for your other pets, like cats, dogs, and reptiles, not just birds!
I recommend using the Gloss Pet Dwellings Paint simply because they are water-based, which means they are organic and don’t contain any harmful chemicals.
More specifically, they are non-toxic and do not contain any VOCs.
Heck, they even conform to the industry standard tests such as:
- ASTM-D4236 for toxicity &
- CDPH 01350 for VOC emissions!
This means they are perfectly safe for you to use, so you can rest assured your bird won’t be harmed when they come into contact with it.
Okay, now I know this might sound crazy, but look at this video of Ian West, the inventor of ECOS Paints, taking an ENTIRE TABLESPOONFUL of his paint!
If this doesn’t prove a point, nothing will. Rest assured; your birds will be fine!
What’s also great about it is that you have such a HUGE range of different color hues you can pick from when you have a look at their color selector. Trust me on this when I saw HUGE!
Here’s what a finished product on their website looks like!
Cool right?
You can pick a more colorful color, too, if you like.
However, one thing to note is that you first need to get yourself a primer if you want the paint to adhere well and stay on for the long term.
You can refer to the Pet Dwellings Primer I mention above and use them together.
10% OFF PROMO CODE
Use code “birdingoutdoors10” at your first checkout at ECOS Paints for 10% off!
If you want to get another type of paint, make sure that it dries fast.
You wouldn’t want any remaining fumes (harmful or not) to be still lingering on the cage when you put your bird inside.
You wouldn’t want your birds to be unintentionally exposed to more fumes than they should for the long term.
That’s also why I recommend keeping your birds aside and out of the cage for a week (separate accommodation) for the smell to leave the cage first!
Also, when you apply this paint, make sure to apply three layers while allowing for it to cure for one day in between each. Once your finish off with the topcoat, allow it to sit for one whole week to cure.
NOTE: Before you start on your painting project, don’t forget to prepare an interim accomodation for your birds. Don’t simply expect the drying process to be done in one afternoon!
I noticed that they mentioned that it’s not suitable for areas that are permanently wet.
This means I would not use this for painting furniture in the toilet or kitchen.
For our bird cages, that’s fine!
Okay, if you’re wondering how to paint your birdcage, I’ll go through it with you next!
4) How To Paint a Bird Cage (Step-by-step)
If you’re willing to follow along with this guide, you’ll need to order these 3 items, so order them together, and you’ll have all you need.
I didn’t include other things like your own gloves, mask, cardboard paper etc.
10% OFF PROMO CODE
Use code “birdingoutdoors10” at your first checkout at ECOS Paints for 10% off!
This paint can also be used to paint your bird feeders.
Okay, let’s now get into painting our very own freshly painted cage!
Here’s a video that you can refer to on how easy painting your own bird cage can be!
Step 1: Clean The Bird Cage
Good pre-paint cleanup is extremely vital to a nice smooth finish, so don’t skip this step!
First, you must begin cleaning off the bird cage’s excess, loose hanging parts.
Clean off any debris, poop, dirt, or loose metal pieces you can physically observe. (Birds poop very often, so make sure you clean it up well!)
Then, any cracks and holes should be repaired first.
If you can, take some time to file off any irregularities so that the paint can adhere well later on. You should then get some sandpaper and give it a good sand down.
We want to remove as much dirt as possible because we don’t want the paint to stick to the dust instead of directly to the metal itself.
Paint will adhere will to the metal poles directly, so keep that in mind.
Next, we must wash off the dirt with water and allow it to dry fully.
I recommend that you use a high-pressure washer for this! It makes it SO much easier.
You can also apply mild detergent to areas with stubborn stains and scrub that out first.
Step 2: Dissolve Rusted Metal Parts
If your bird cage has hardly any rust, then that’s fine; you can skip to the next step.
Next up, we need to dissolve any rusted metal parts. If you’re using an old bird cage that has lots of rusted parts, you can’t skip this step.
If you want to remove rust on your bird cage, you need to use a rust dissolver.
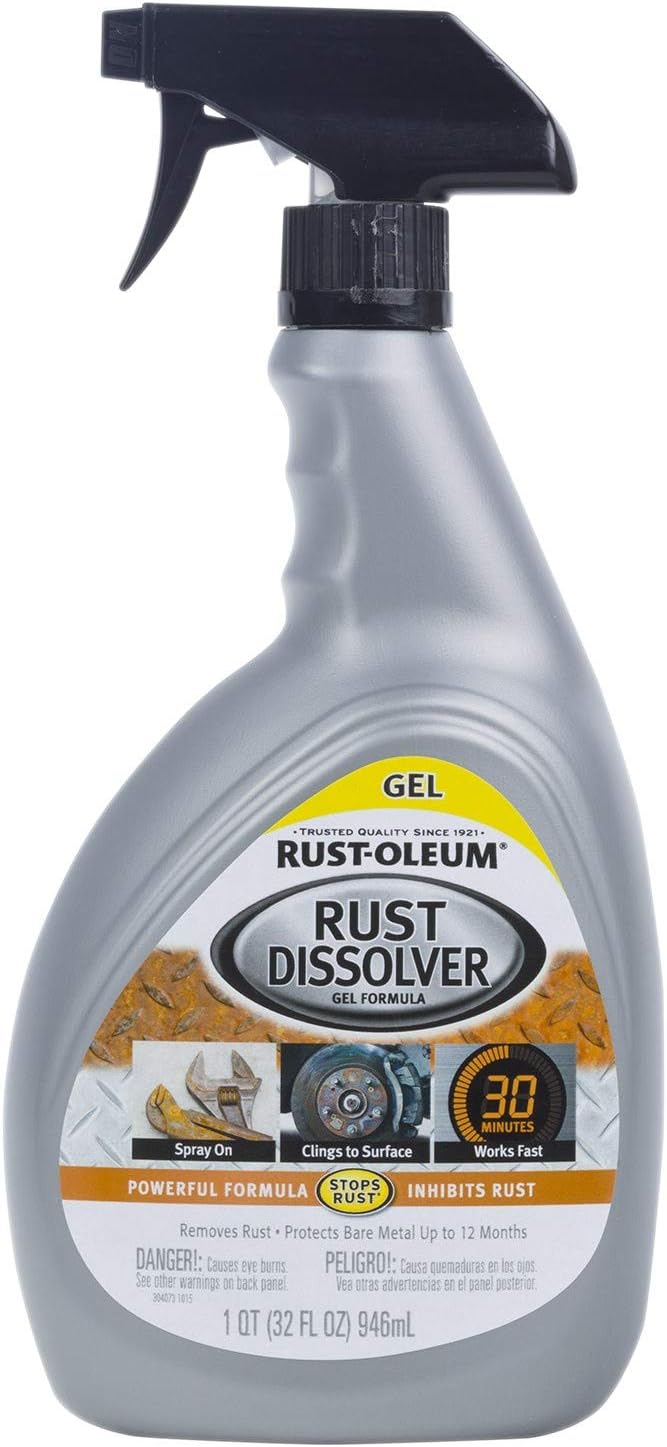
I will link a recommended rust dissolver from Rust-Oleum that you can use here.
The purpose of the rust dissolver is to chemically remove the rust that has developed over time due to the moisture in the air.
NOTE: If you’re doing this step, you MUST have these protective gear ready:
- Gloves (any thick ones from hockey or those used in garages will work)
- A mask (to protect your face from accidental splashes/contact with skin)
- Safety goggles (if you have glasses, then that’s fine too)
- Long sleeves and long pants (to protect your face from accidental splashes/contact with skin)
All the gear listed above is for your safety because the liquid that dissolves rust can be corrosive and damage your skin.
Also, one more thing to note is that you shouldn’t try to do this when the temperature is below 50 Fahrenheit (10 Celsius). The spray may not come out well.
Once you have sprayed the rust dissolver at areas with rust, make sure to leave it out for about 1 hour to do its work. Then proceed to the next step.
Step 3: Prepare Painting Area
If you’re going to be painting, make sure you are doing it outside because it can get really messy.
You’ll need to have collected some cardboard pieces or a sheet that you can lay below the cage to catch the paint drips.
If you choose to spray paint your bird cage, you’ll need more of those large cardboard pieces because the spray paint can get everywhere!
Also, make sure your birds are not in the vicinity. Move any other furniture away too!
Step 4: Apply Primer
Next, you’ll need to apply a primer. As recommended in this article above, you should use the Pet Dwelling Primer by ECOS as it is non-toxic and works well for pets.
Once you’ve completed a layer of primer, ensure it covers all the small corners.
Don’t leave any area unpainted. You should cover everything such that it looks fully white.
You should leave it to cure for about a day, depending on your country’s humidity level.
If you’d like to use a separate primer, make sure that it’s meant to be used for metal so that it sticks well. I find that enamel paint goes well onto metal surfaces.
Step 5: Apply 3 Coats of Paint
Next, you can start applying your 3 coats of paint.
The first two initial coats will be to cover all the edges of the bird cage, and the final topcoat will seal the deal in making the paint look great and vivid!
Remember to make sure that you have about 2-3 hours drying interval between each coat of paint so as to allow it to cure fully.
NOTE: When you finish applying your last topcoat of paint, you need to allow for it to sit for about 1 week to really ensure that the paint job is done.
If you’re using other paint than what I recommended, such as spray paint, take extra care to really observe the 1 week drying time.
This time is to allow the paint to lose aerosol properties so that your birds won’t inhale it 24/7 while in the cage. That will be a complete disaster!
Here’s how you can apply your paint according to their website:
The ECOS Gloss Pet Dwellings Paint can be applied using a high quality synthetic brush, rolled using a shed-resistant 3/8” to 1/2” roller cover, or sprayed using an airless sprayer with 0.015” to 0.017” tip at 1600 to 1800 psi.
5) Is Rustoleum Paint Safe for Bird Cages?
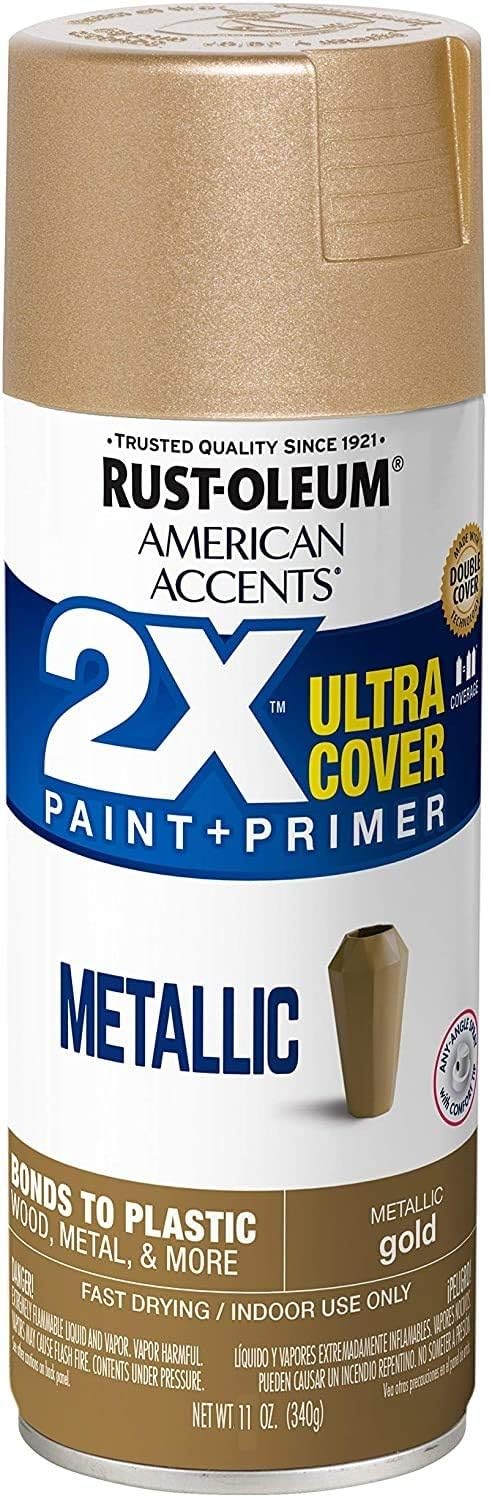
Rustoleum paint is safe for bird cages. However, Rustoleum paint needs to be non-toxic in nature, not contain VOCs water-based and allow to dry completely for it to be safe for painting bird cages.
A recommended Rustoleum paint that is safe for bird cages would be the Rust-Oleum 327909 American Accents Spray Paint.
Check it out if you are more inclined toward using spray paint instead!
6) Can You Spray Paint a Bird Cage?
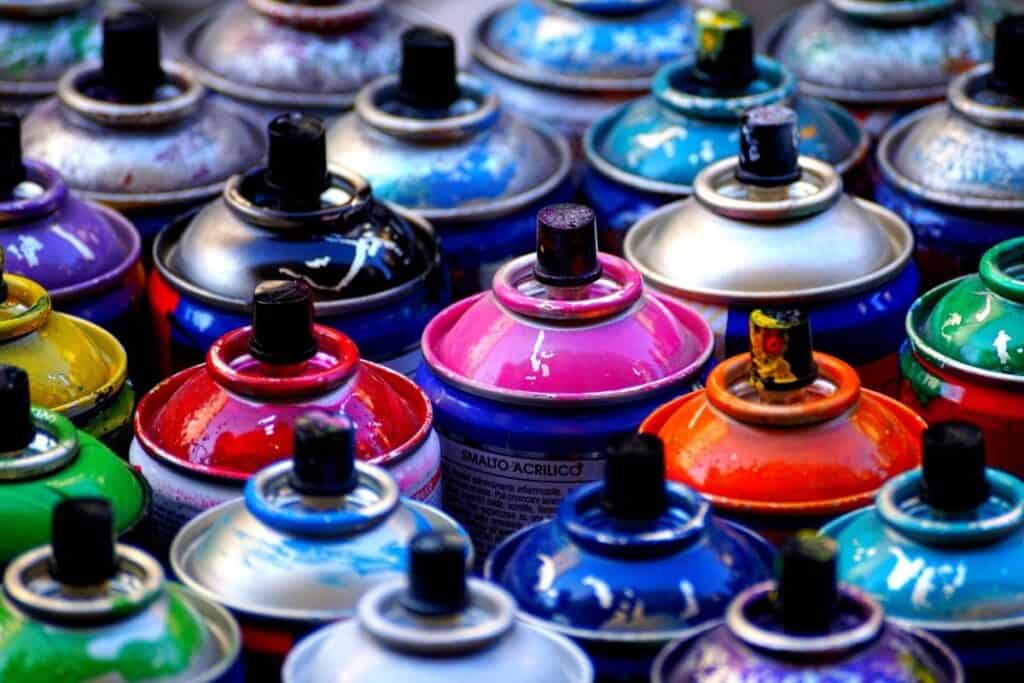
Bird cages can be spray painted, but they need to be given enough time to cure and dry for one week before allowing birds to inhabit them. The Rustoleum 2x Ultra Cover Paint + Primer Spray is safe and suitable for spraying. They must be spray painted outdoors and not indoors due to their fumes.
Here are a few things to take note of if you choose to spray paint your bird cage:
- You’ll need lots of outdoor space (enough ventilation for aerosol to disperse)
- You’ll need lots of cardboard boxes to protect the surrounding furniture from the paint
- Your fingers will experience some finger fatigue from squeezing the nozzle too much
- You’ll need to wear a mask so you don’t inhale too much fumes
- You probably need to purchase more cans because they finish really fast (buy more cans just in case)
Here’s the video again from above if you want something to follow along when you spray paint your bird cage!
7) Extra Tips To Minimise Damage To Bird Cage Paint
Okay, so you’ve finished painting your bird cage and are dead tired from all that work.
What’s on your mind next?
I would be thinking about making it as last as long as possible!
Keeping that in mind, I’ve compiled some tips from various people who have been here and done that when it is maintaining birdcage paint.
Tip 1: Set up sufficient novel perches for your bird to climb all over
By setting up novel perches for your bird to climb around, they won’t damage the paint as much by gripping onto the bars of the bird cages.
Mitch Rezman from Medium recommends that we have at least three different perches for birds: soft wood, hardwood, and rope.
These help birds cope with their fidgetiness in the cage, hopefully keeping their sharp beaks and claws off the painted bars.
So set up some wooden platforms for birds to switch perches!
Tip 2: Add Foraging Toys To The Cage

As bird owners, we all know our birds love to nibble at stuff, bite things, and sometimes even our teeth.
This is all normal and part of their foraging behavior and method to keep their boredom at bay.
In fact, some birds, like love birds, attack each other often, so toys are really needed.
By including some foraging toys in the mix, birds will be less restless and less likely to nibble away at paint, potentially even ingesting small bits of them into their stomachs.
If you’re wondering what kinds of bird toys are great for birds, you can check out this simple Deloky Large Bird Parrot Chewing Toy, that birds will love.
Here’s how it looks:
Of course, these toys wear out over time, but they help to distract your bird from destroying the paint on your cages!
If you’re not really into buying toys for your birds, then consider giving them some paper to shred. In another article, I write about whether birds eat paper and what type of paper is safe for birds.
Final Thoughts
Alright! Now I hope you’re fully equipped with everything you need to know about bird-safe paint for bird cages!
Remember that it’s very important to pick out the right type of paint so we don’t harm our feathered friends in the process.
And with that, I wish you all the best in your little painting project.
You may wish to bookmark this page and come back when you need to refer to it as a guide again.
Thanks for reading all the way, and have fun painting!
My Recommended Birding Resources:
Hey there, Justin here!
Here’s a list of all my favorite resources, products, and brands I trust and love.
My Celestron Nature DX 8×42 Binoculars: It’s a great budget pair for beginner birders. Highly valued for its price! Read my review.
Safe Paint for Bird Baths Guide: Learn about non-toxic paint for painting bird baths.
Safe Sealers for Bird Baths Guide: Learn which sealers are safe for bird baths.
Safe Paint for Bird Feeders Guide: Learn what special care needs to be taken to paint bird feeders with the right paint.
Safe Paint for Birdhouses Guide: Learn about non-toxic paint for painting birdhouses. (Not the same as bird baths!)
Bird Identification Apps Guide: 2 of my favorite birding apps are Merlin Bird ID, and eBird Mobile! Merlin is great for tracking and identifying birds, and eBird Mobile is great for tracking the birds sighted when birding.
Check out my resources page for the full list of resources I recommend!

Justin Chia
Justin is the founder and author of Birding Outdoors. He is a Nanyang Technological University (NTU) alumnus with a Bachelor of Biological Sciences and a former data analyst.
Now, Justin runs the Birding Outdoors blog full-time, hoping to share his deep love for birds, birding, and nature with others.
To unwind, Justin enjoys gaming and reading.
![Why Does My Bird Bite My Mouth? [ANSWERED! + FAQs]](https://birdingoutdoors.com/wp-content/uploads/2021/07/bird-bite-mouth-2-768x512.jpg)
![Why Do Birds Like To Pick At Teeth? [ANSWERED! + FAQs]](https://birdingoutdoors.com/wp-content/uploads/2021/07/bird-pick-at-teeth-768x512.jpg)