How To Adjust Your Binocular’s Diopter: 7 Quick Steps
We’re reader-supported; we may earn a commission from links in this article.
So you’ve probably wondered how on earth are you supposed to set up your binoculars’ diopter adjustment quickly and painlessly. When I got my own pair of binoculars for the first time, I wondered the same. I did some research online and here’s how I did it:
How To Adjust Your Binoculars’ Diopter Adjustment: 7 Quick Steps
- Locate The Diopter Adjustment Knob
- Open Left Eye, Close Right Eye
- Focus Image Using Center Focus
- Open Both Eyes To Check If It’s Focused
- Open Right Eye, Close Left Eye
- Focus Image Using Diopter Adjustment
- You’re Done!
Now you know the steps that entail the adjustment of your binocular’s diopter adjustment, you may also want to take note of some caveats that may concern you when it comes to adjusting your diopter. Read on to find out more.
What Is The Diopter Adjustment and What’s Its Purpose?
If you’re a beginner birder like how I was a few months back, you’ll be really curious to know what on earth the diopter adjustment is. The diopter adjustment knob is typically found on the right side of a pair of binoculars. Basically, it’s an adjustment knob that is used to account for the difference in the eyesight degree between your two eyes.
Before we dive right into the 7 steps, if you’d like to see all this information in a video, check one that I made below!
The 7 Steps In Detail:
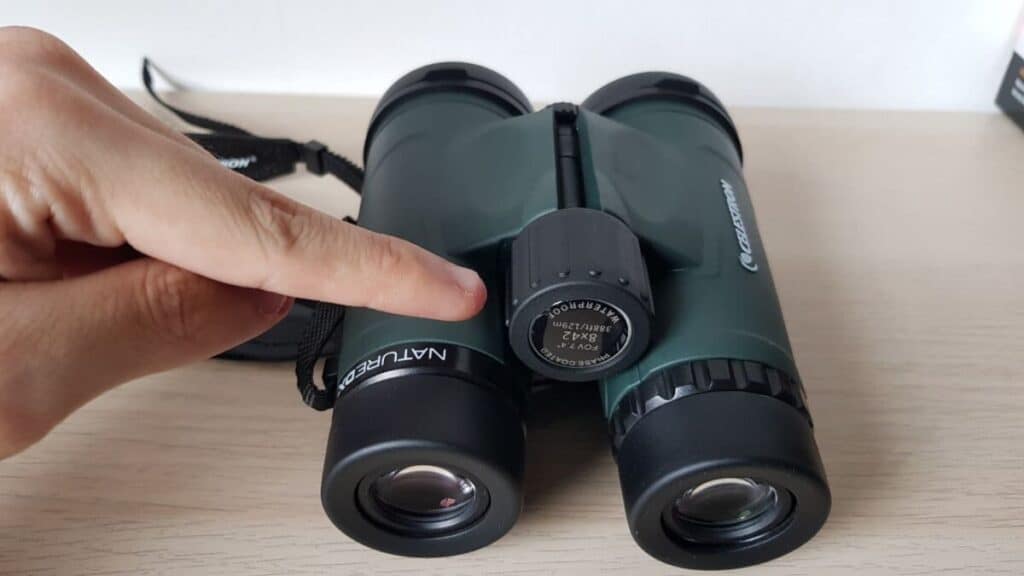
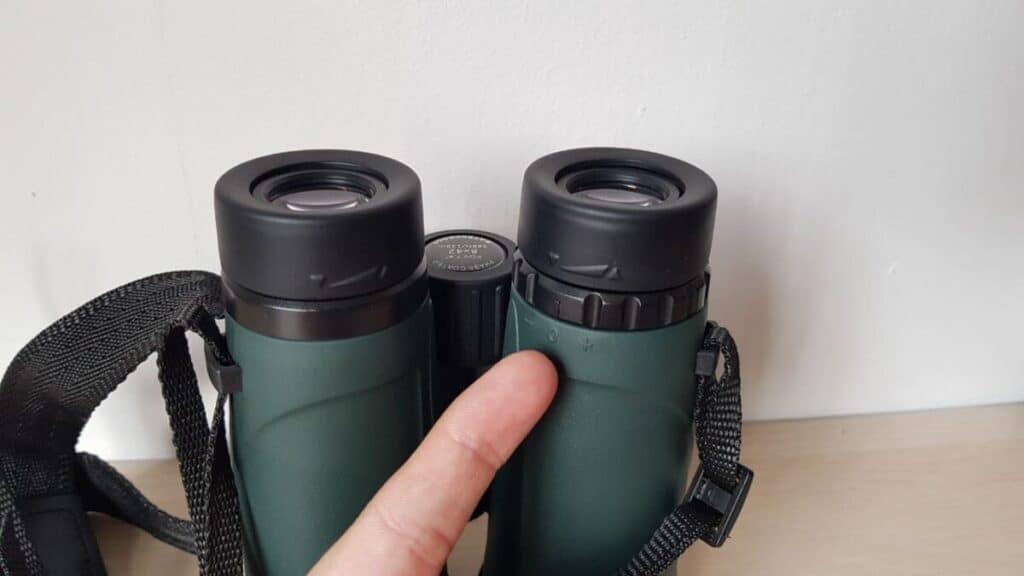
1) Locate The Diopter Adjustment Knob

Firstly, you want to locate the position of your diopter adjustment knob. I know all binoculars are a little different, but generally, they are on the right side of your binoculars, near the right eyepiece. Some binoculars have a locking mechanism where you need to unlock the diopter adjustment before you can start to adjust it. If you try to turn the diopter adjustment knob and it doesn’t budge, try seeing if there’s an unlocking mechanism for your binoculars.
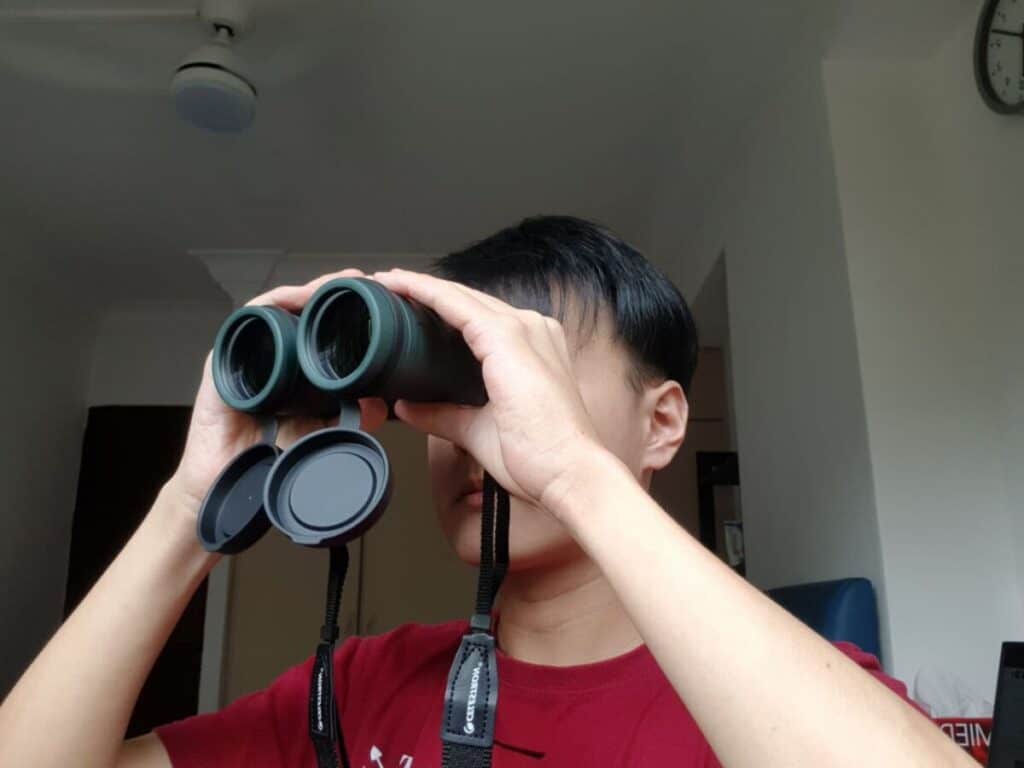
2) Open Left Eye, Close Right Eye
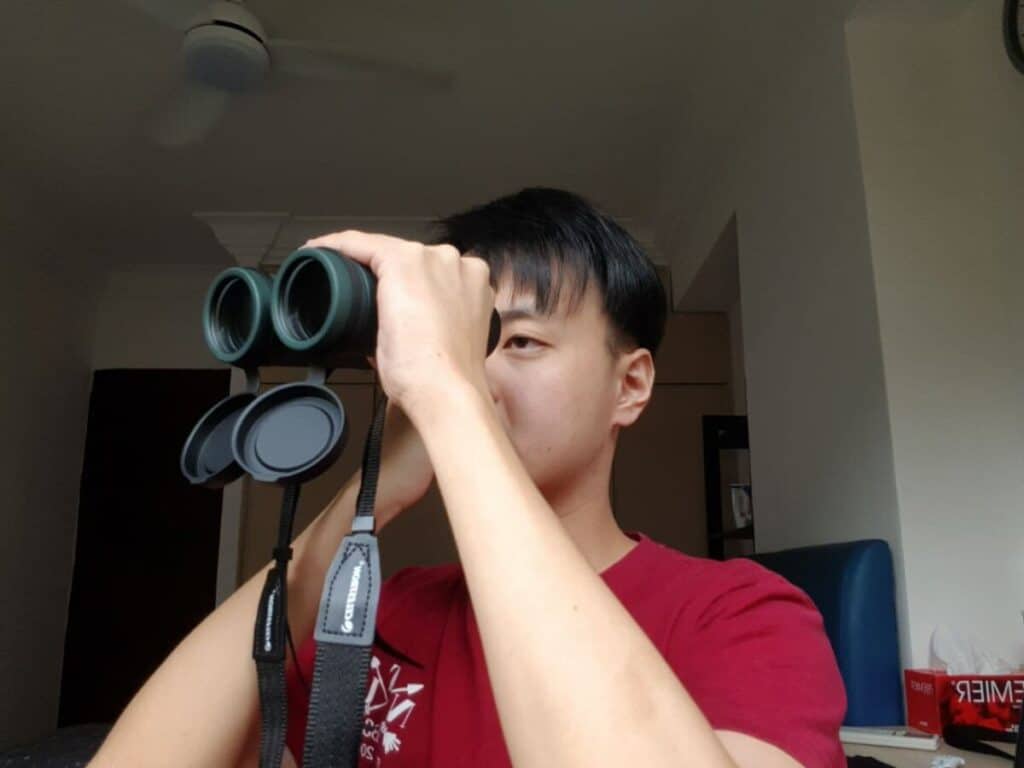
Now look through your binoculars but open your left eye and close your right eye. You should be looking through the left side of your binoculars only.
3) Focus Image Using Center Focus
Now while looking through the left side of your binoculars with your left eye only, focus on a fixed distant object to get a sharp and clear image using the center focus. Don’t touch the diopter adjustment just yet.
4) Open Both Eyes To Check If It’s Focused
Now you’ll want to open both of your eyes to check if it’s focused. At this point, if you notice that your image is already clear and sharp, then you can ignore the next few steps. You don’t need to adjust your diopter adjustment knob. You’re good to go!
5) Open Right Eye, Close Left Eye
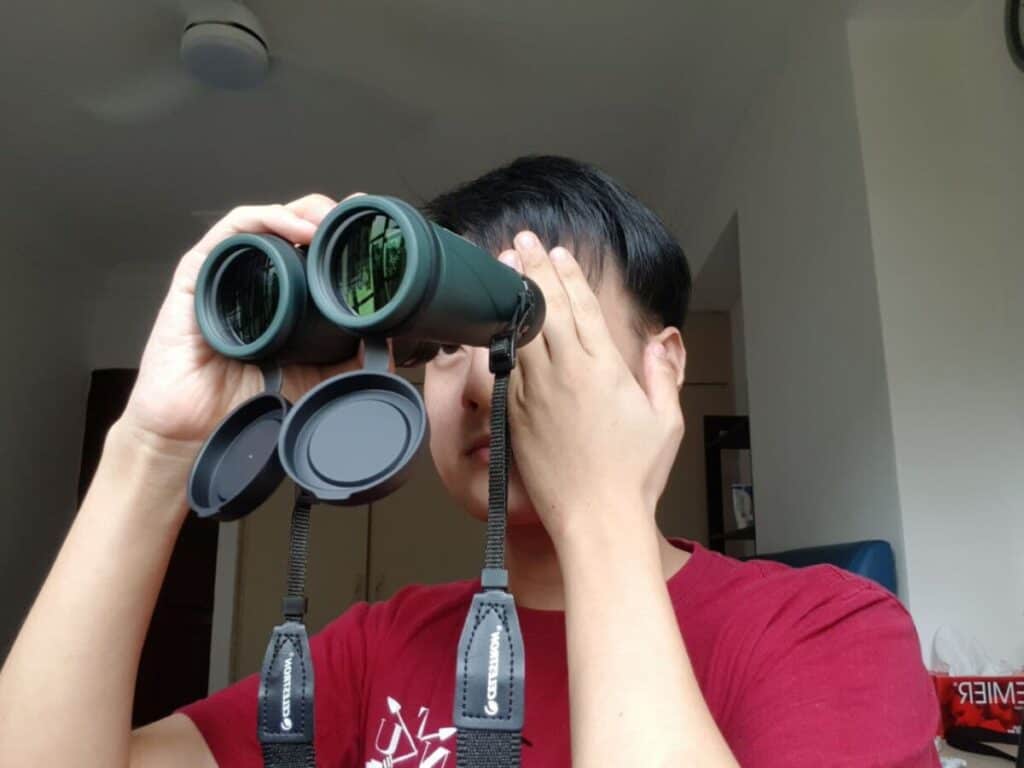
If you notice that your image is still a bit blurry and a bit out of whack, open your right eye and close your left eye and look through your binoculars. This means you are looking through your right eye on the right side of the binoculars ONLY.
6) Focus Image Using Diopter Adjustment
Now while looking through the right side of the binoculars with your right eye only, focus ONLY using the diopter adjustment knob until your image is clear and crisp.
7) You’re Done!
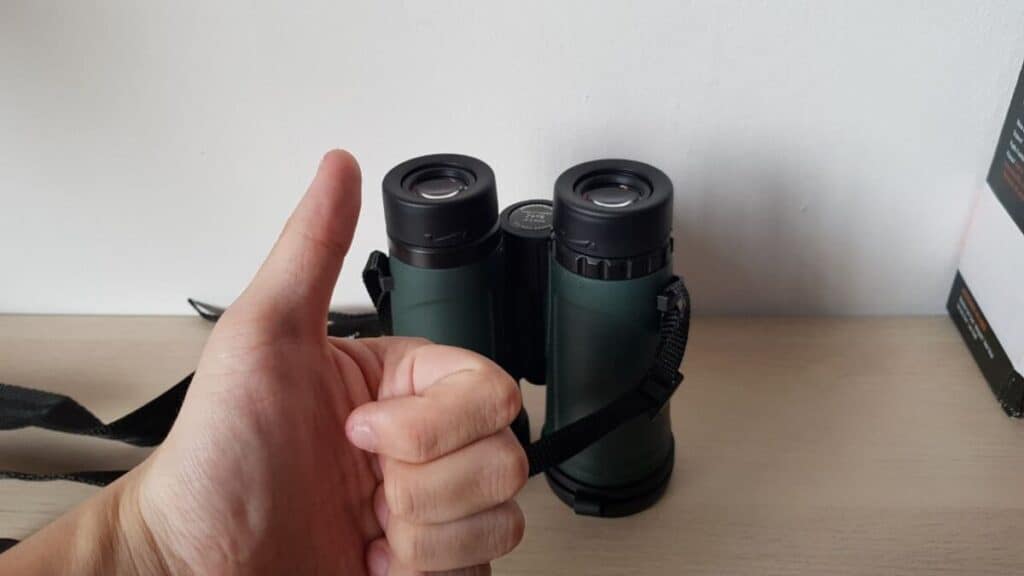
You’re done! If you followed these steps carefully, you should see a clear image with both your eyes looking through both sides of the binoculars. Enjoy your clear images in your binoculars!
Eyeglass/Spectacles Wearers: Take Note!
Here’s an important point you’re gonna want to take note of for any eyeglass/spectacles wearers. You guys don’t need to make any diopter adjustments at all! Your diopter adjustment knob should be set to 0 at all times for the best image. This is because eyeglasses provide your eyes with a corrected vision already, so you don’t need the diopter adjustment to do that for your again.
If you want to grab the binoculars that I’m using, you can check out an article I wrote reviewing it here, and its availability on Amazon here.
Final Thoughts
Now you know how to set up and adjust your diopter adjustment knob, go out and have fun doing whatever you like with it! As for me, I’ll be going birding with my pair. Thanks for reading!
My Recommended Birding Resources:
Hey there, Justin here!
Here’s a list of all my favorite resources, products, and brands I trust and love.
My Celestron Nature DX 8×42 Binoculars: It’s a great budget pair for beginner birders. Highly valued for its price! Read my review.
Safe Paint for Bird Baths Guide: Learn about non-toxic paint for painting bird baths.
Safe Sealers for Bird Baths Guide: Learn which sealers are safe for bird baths.
Safe Paint for Bird Feeders Guide: Learn what special care needs to be taken to paint bird feeders with the right paint.
Safe Paint for Birdhouses Guide: Learn about non-toxic paint for painting birdhouses. (Not the same as bird baths!)
Bird Identification Apps Guide: 2 of my favorite birding apps are Merlin Bird ID, and eBird Mobile! Merlin is great for tracking and identifying birds, and eBird Mobile is great for tracking the birds sighted when birding.
Check out my resources page for the full list of resources I recommend!
Justin Chia
Justin is the founder and author of Birding Outdoors. He is a Nanyang Technological University (NTU) alumnus with a Bachelor of Biological Sciences and a former data analyst.
Now, Justin runs the Birding Outdoors blog full-time, hoping to share his deep love for birds, birding, and nature with others.
To unwind, Justin enjoys gaming and reading.